Fast x86 Debugging: Using GDB On Apple Silicon with Rosetta emulation
Published: December 4, 2023
Overview
This blog post will outline how to set up x86 GDB on M1. This isn’t your run-of-the-mill x86 emulation -
this is FAST — using the Rosetta translation engine, instead of QEMU. Thanks to sporks.space for the initial writeup of the ROSETTA_DEBUGSERVER feature!
System Requirements
I am running on a M1 chip, running macOS Sonoma 14.0 (Build 23A339). I have had issues with Rosetta crashing on previous versions of macOS, so I would recommend using a later, more stable version (and still occasionally have stability issues).

UTM / VM Setup
Download a ARMv8 / aarch64 iso like Ubuntu Desktop 22.04.3 LTS. This can be downloaded from the Ubuntu daily live image directory.
Download the UTM DMG from their GitHub Releases. At the time of writing, this is UTM 4.4.4. If you run into issues, I would recommend using 8GB RAM.
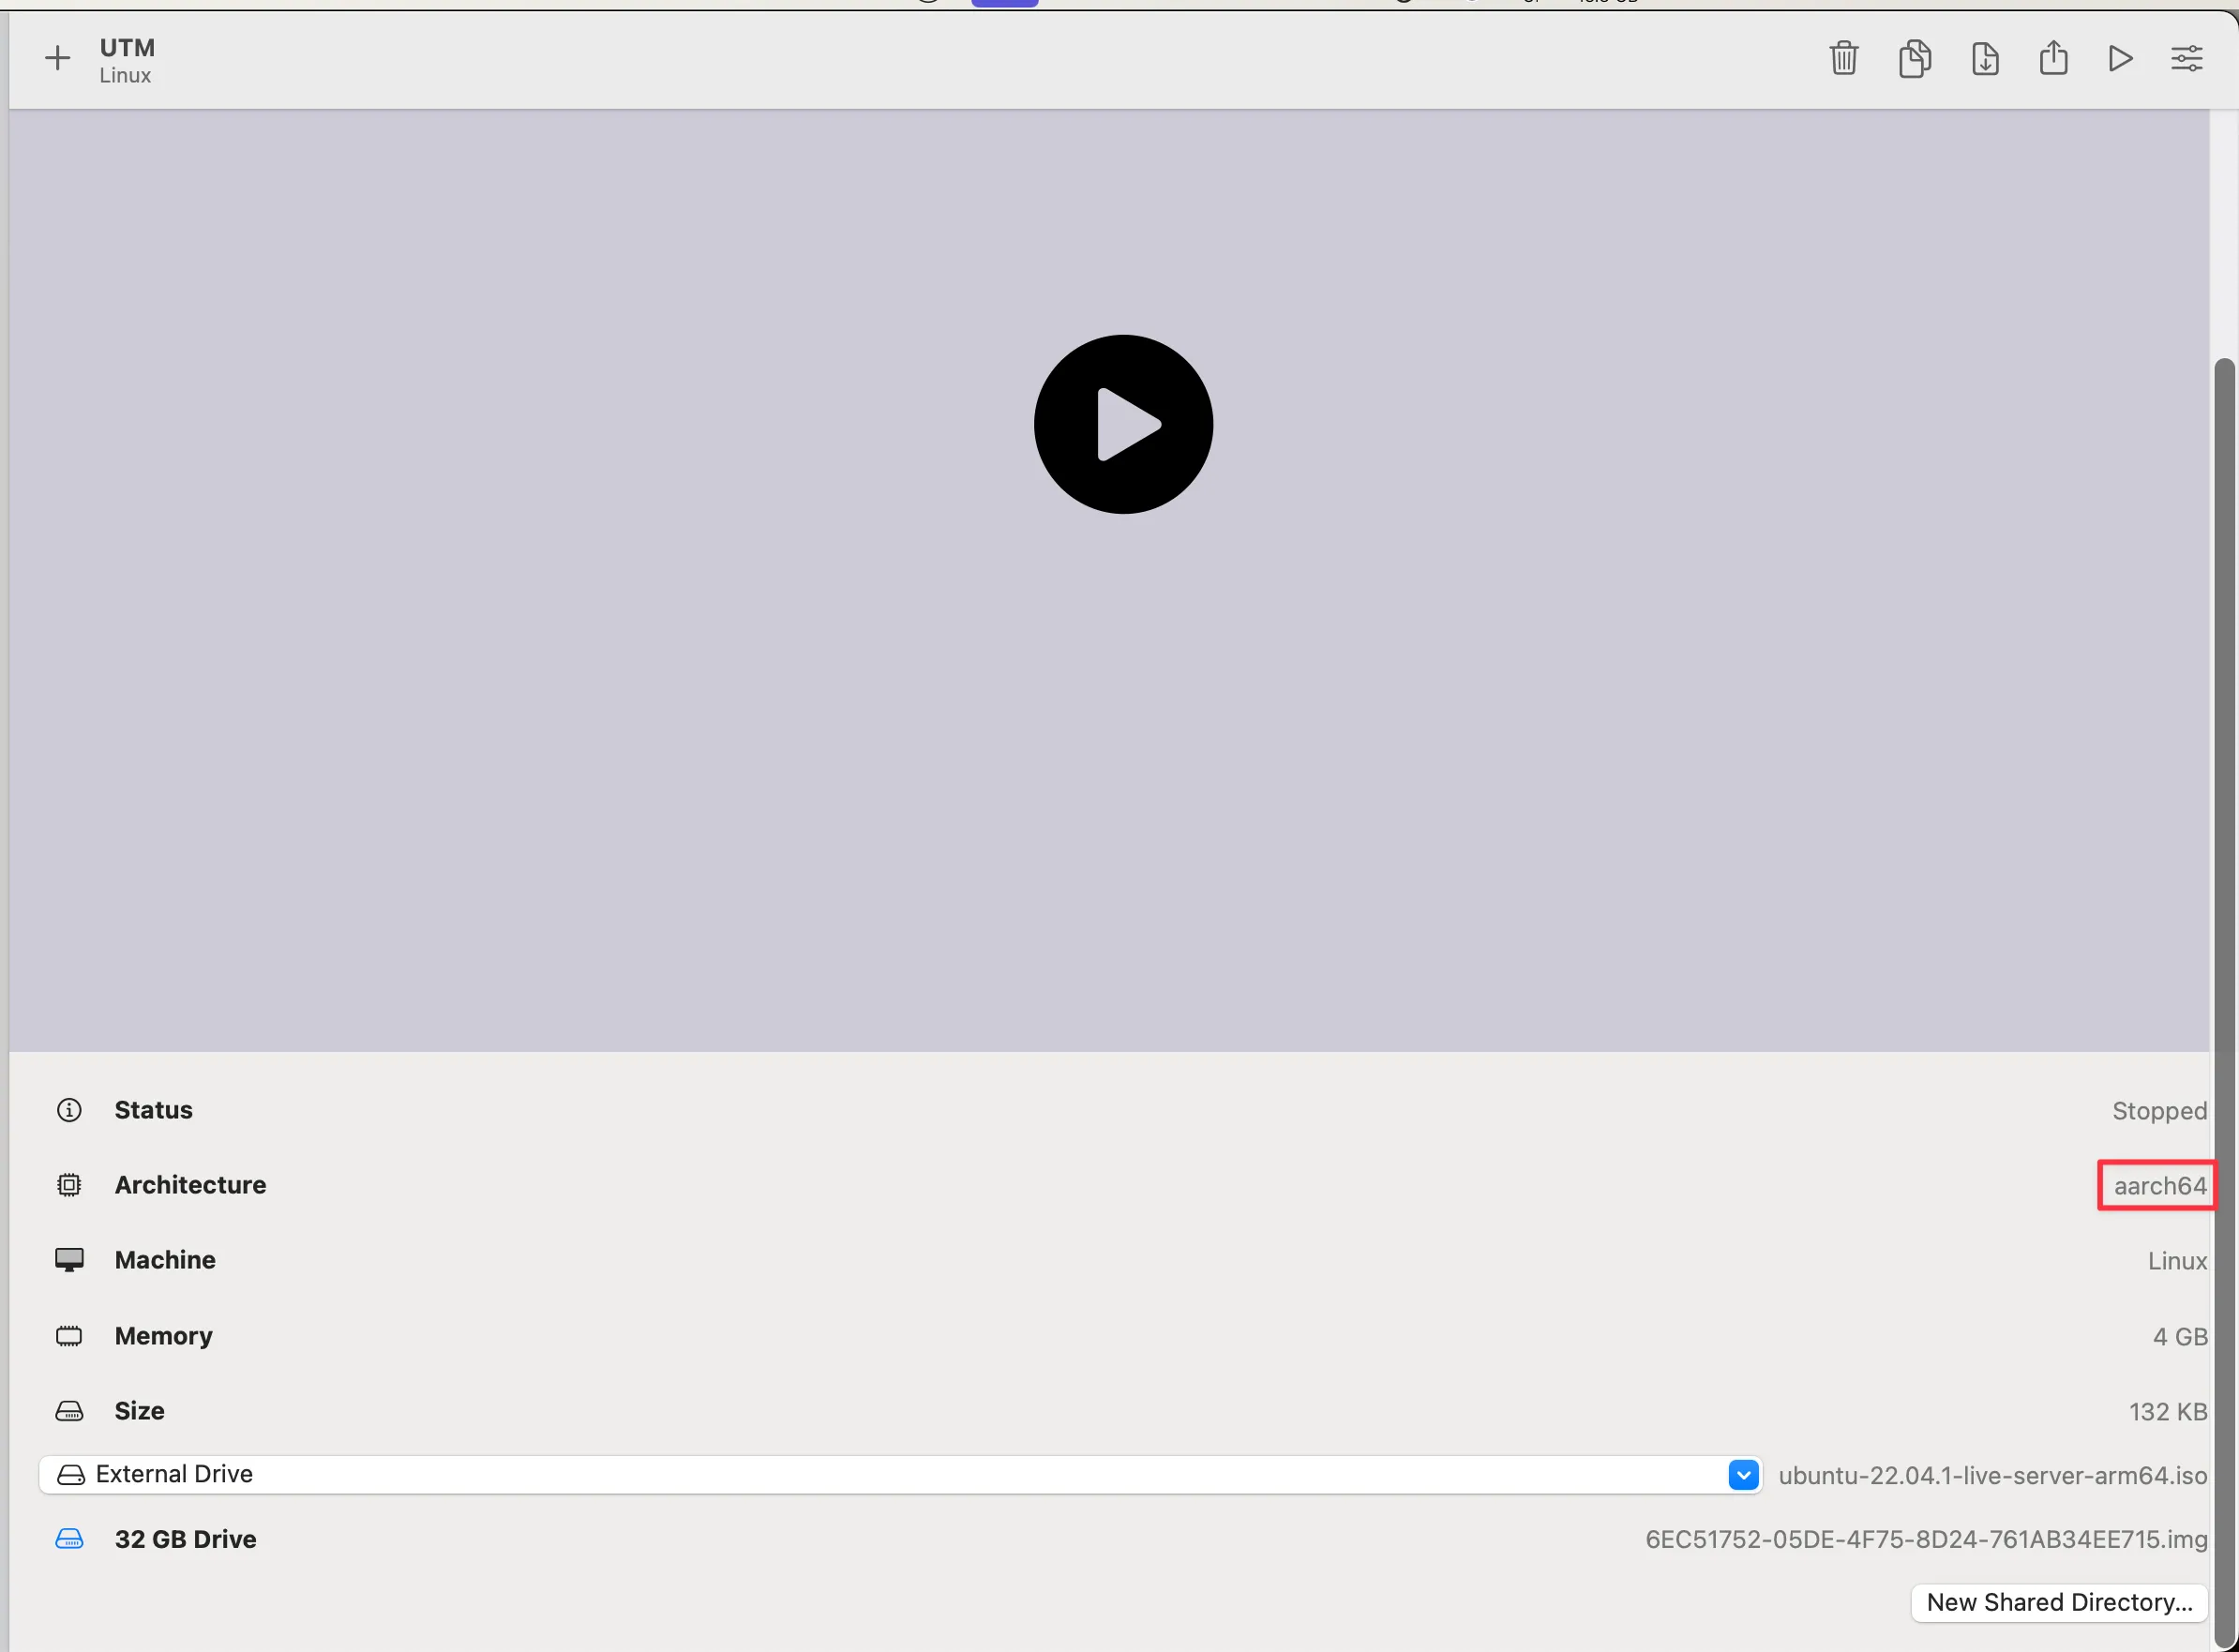
Then, set up your UTM VM.
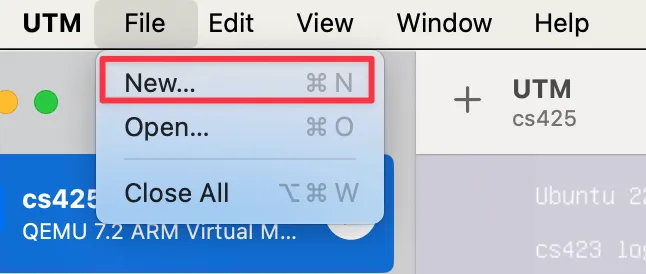
First, create a New UTM VM.
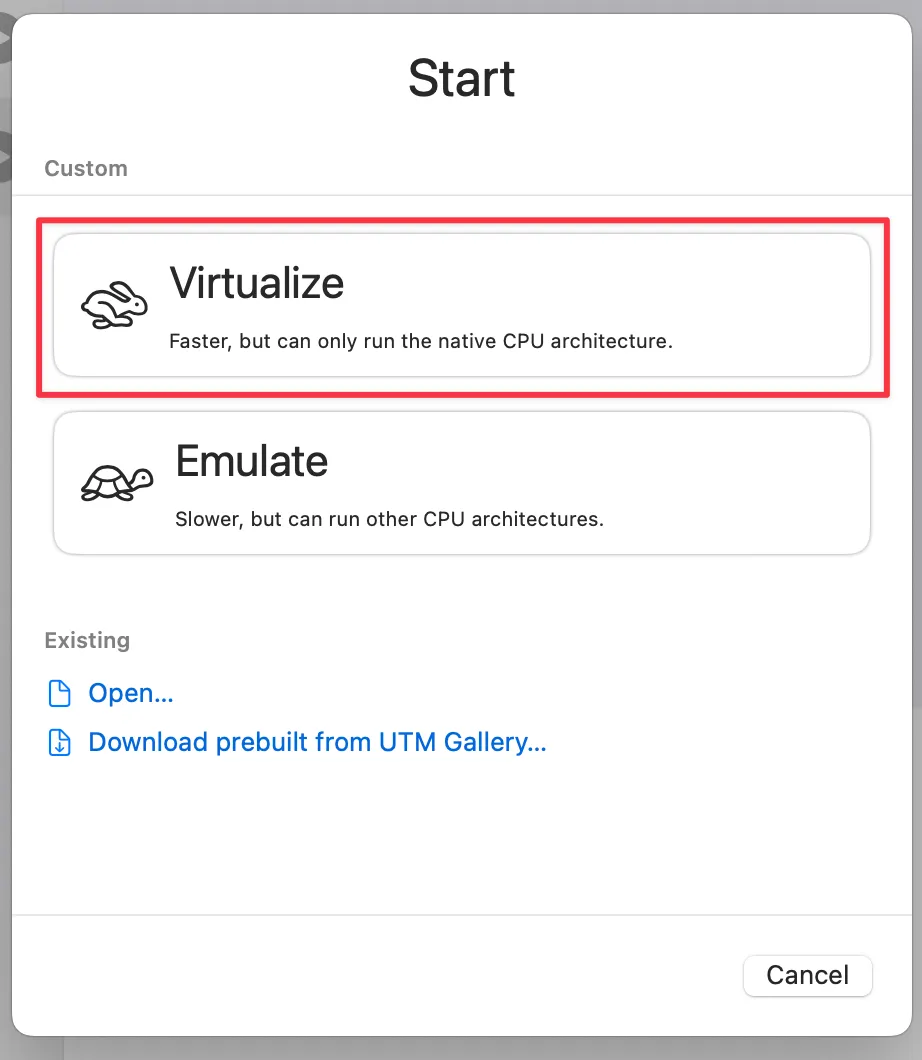
Then, select Virtualize.
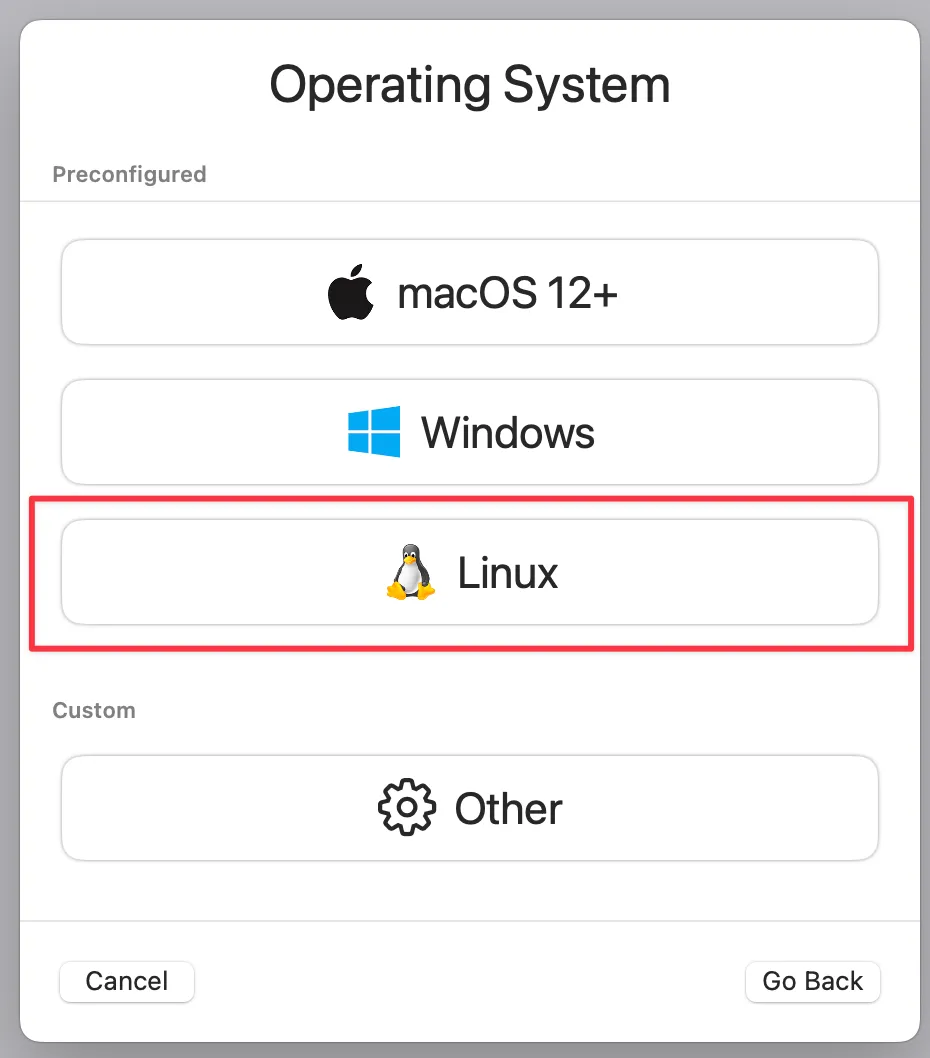
Then, select Linux.
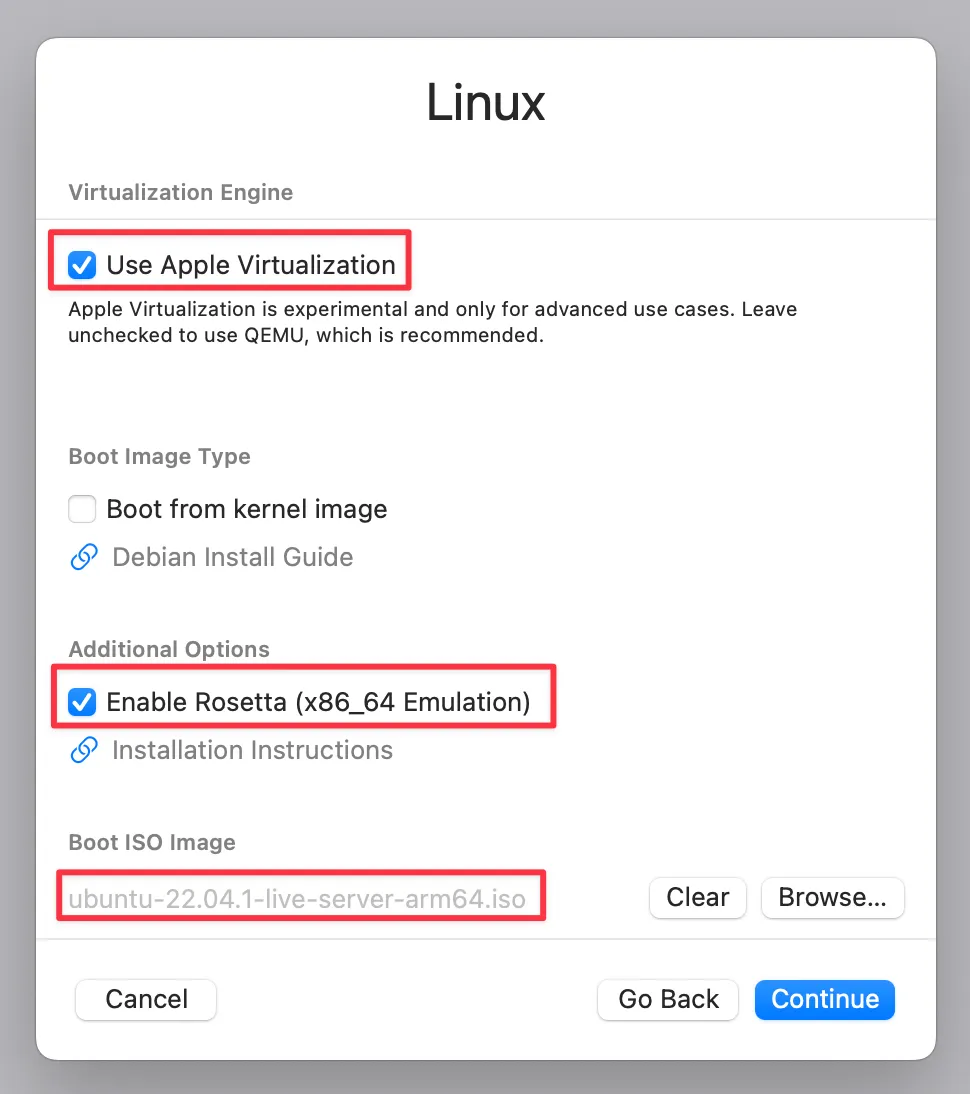
Then, turn on Apple Virtualization, Enable Rosetta, and select your arm64 iso.
Follow the rest of the steps, changing your disk and RAM as you see fit.
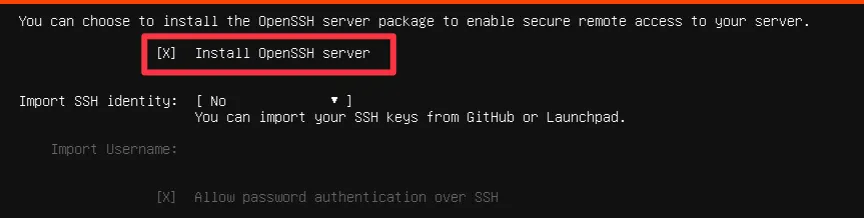
Then, boot up into Ubuntu server. Skip/continue past all prompts that require the internet, as it will not have internet access. Additionally, check ‘Install OpenSSH server’.
After you finish and reboot, go back to UTM and remove the ISO Drive so you can boot up into Ubuntu.

Enabling Network Access
Edit the network configuration so that you can access the internet.
sudo vim /etc/netplan/00-installer-config.yamlto the following contents (your network interface may be slightly different):
network:
  ethernets:
    enp0s1:
      dhcp4: true
      nameservers:
        addresses: [8.8.8.8, 1.1.1.1]
  version: 2
and finally, we can download ifconfig and quickly check our host IP.
sudo netplan apply
sudo apt update && sudo apt install net-tools
ifconfig
Setting up Ubuntu
You should now be able to ssh into your VM from your host with
ssh <user>@<ip>And then once connected, upgrade your system and add amd64 (x86) package repositories.
sudo apt upgrade
dpkg --add-architecture 'amd64'
sudo apt install gdb-multiarch
sudo apt install libc:amd64
sudo apt install gcc:amd64
Rosetta Passthrough
Then follow the steps to register Rosetta passthrough (well described in the UTM Docs).
sudo mkdir /media/rosetta
sudo mount -t virtiofs rosetta /media/rosetta
sudo echo 'rosetta\t/media/rosetta\tvirtiofs\tro,nofail\t0\t0' >> /etc/fstab
sudo /usr/sbin/update-binfmts --install rosetta /media/rosetta/rosetta \
     --magic "<COPY FROM LINK>" \
     --mask "<COPY FROM LINK>" \
     --credentials yes --preserve no --fix-binary yes
Copy the command from the tutorial, my blog renderer messes up the mask/magic bytes.
Your First Test
You can ensure everything is working by writing a simple main.c binary:
#include <stdio.h>

int main() {
  puts("Hello x86!");
}
and compiling/running it
gcc main.c -o main && ./mainUsing GDB
First, make sure that ptrace trap is enabled. The reason we need to do this is explained in this Stack Overflow answer.
sudo sh << END
echo 0 > /proc/sys/kernel/yama/ptrace_scope
END
Finally, we can use GDB! In one terminal, run the target program with
ROSETTA_DEBUGSERVER_PORT=1234 ./programand in a separate terminal,
gdb
$ set architecture i386:x86-64
$ file ./program
$ target remote localhost:1234